
THE ART OF PRECISE SHOTS
PART II – Adjusting the Optic to the Shooter
In long-range shooting or hunting at great distances, the correct adjustment of the optic is essential in order to deliver precise and repeatable shots. Incorrect alignment or adjustment can not only impair accuracy, but also lead to dangerous situations or accidents. In this article, we explain the essential factors for the correct optic adjustment: eye relief, diopter adjustment, and parallax adjustment.
The key to perfect vision
Eye relief
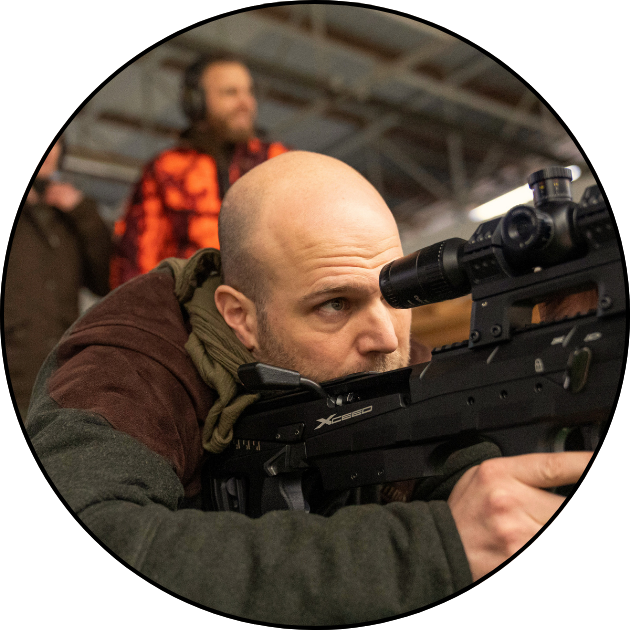
Eye relief, also called exit pupil distance, refers to the optimal distance between the ocular lens of the riflescope and the pupil of the shooter’s eye. This distance is crucial in order to fully capture the entire field of view of the riflescope clearly, without shadows or blurring at the edges of the image. The correct eye relief ensures that the image in the riflescope is complete and bright. If the eye is too far away or too close to the optic, disturbing shadows appear in the outer areas of the field of view. These shadows are reflections of the main tube of the riflescope and become visible to the shooter as a black edge.
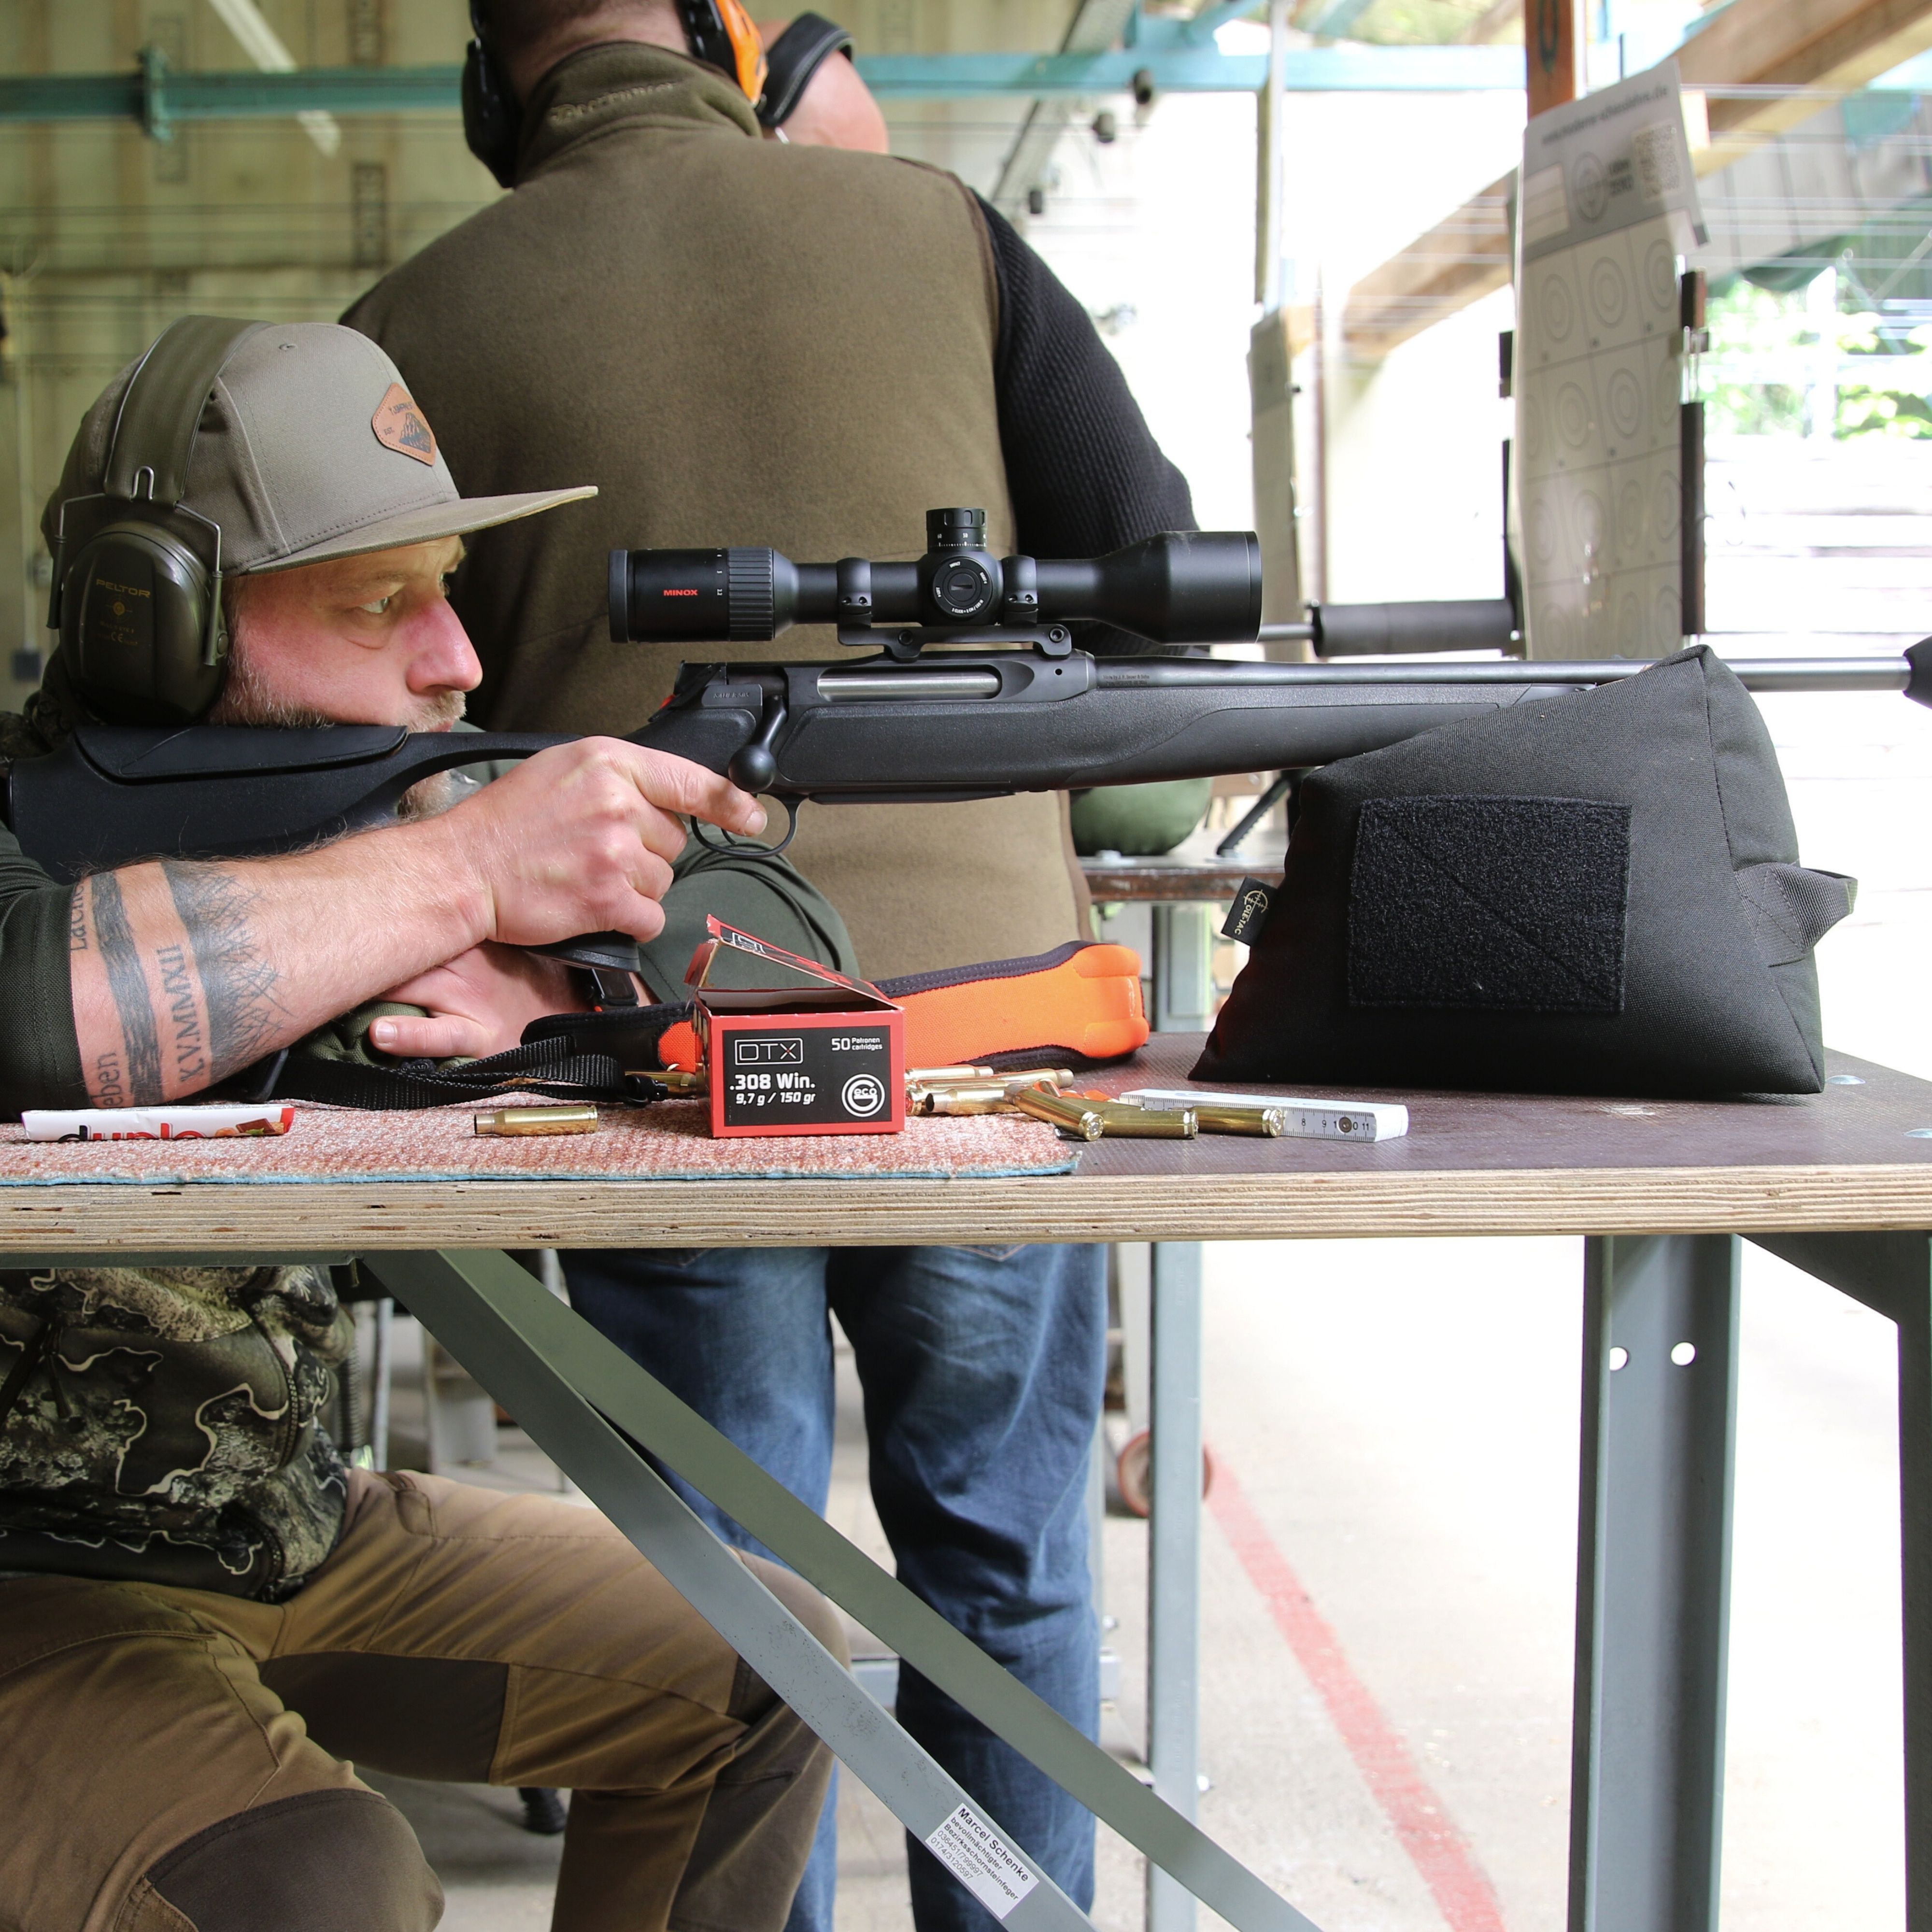
In principle, the person who mounts the riflescope determines the eye relief by mounting the riflescope. However, if you do not want to mount the riflescope yourself, you have the option of specifying an eye relief to the gunsmith or being present during the mounting. You can visualize the ideal eye relief by placing the riflescope into the mount, positioning the shooter behind the optic, and letting them assume their shooting stance. The shooter then closes their eyes, and the gunsmith shines a flashlight into the front of the riflescope. A cone of light now appears on the shooter’s eyelid. The gunsmith then pushes the riflescope forwards or backwards until the light cone is as small as possible. The point at which the light cone has the smallest diameter is the exit pupil distance and the ideal eye relief.
In addition to eye relief, the position of the head behind the optic plays a central role. Beginners often make the mistake of adapting their body position to the optic, instead of correctly aligning the riflescope to their shooting position. This can not only lead to blurring in the field of view but also impair shooting accuracy.
A common indicator of an incorrect head position is shadows at the edge of the field of view. These occur when the eyeball is not positioned exactly in the center of the ocular. If the head is too low behind the riflescope, shadows appear at the bottom of the image. If the head is too high, shadows appear at the bottom of the field of view. To avoid this, it is important to maintain a consistent head position behind the optic. Many modern rifles feature adjustable cheek rests to optimally adapt the head position to the riflescope. This is especially important in competition situations or military operations where precision and consistency are critical.
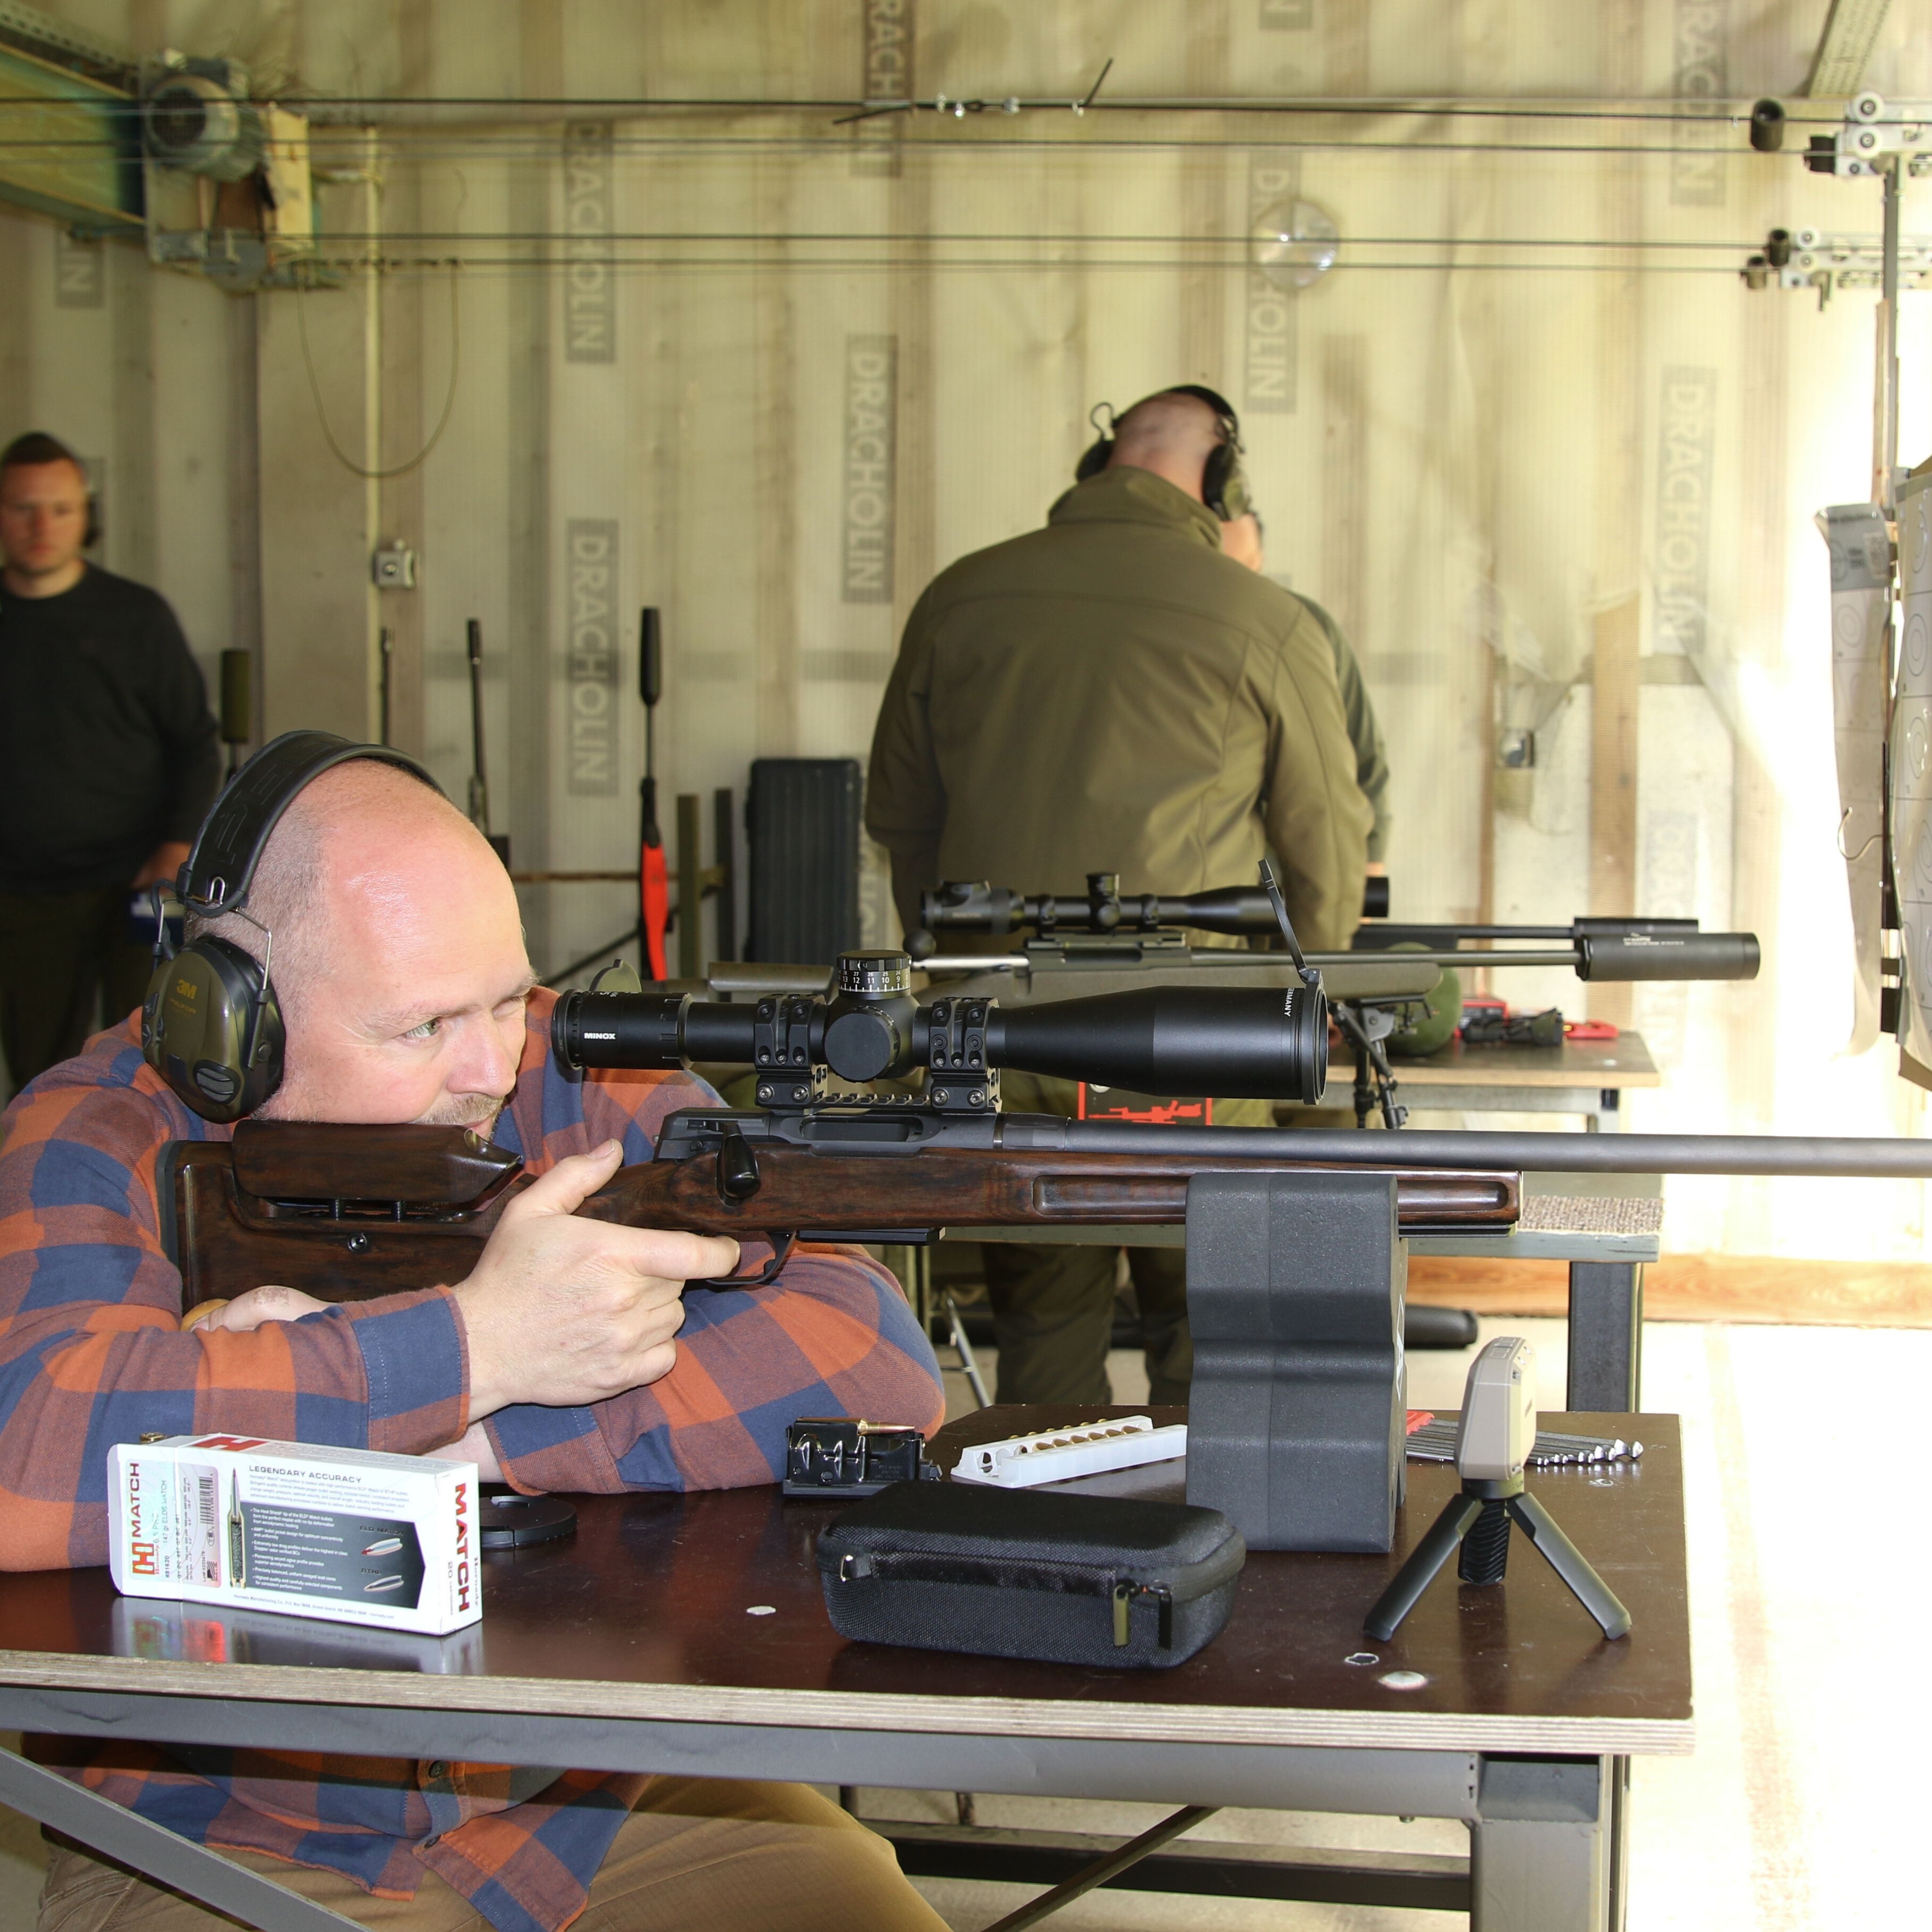
Diopter adjustment
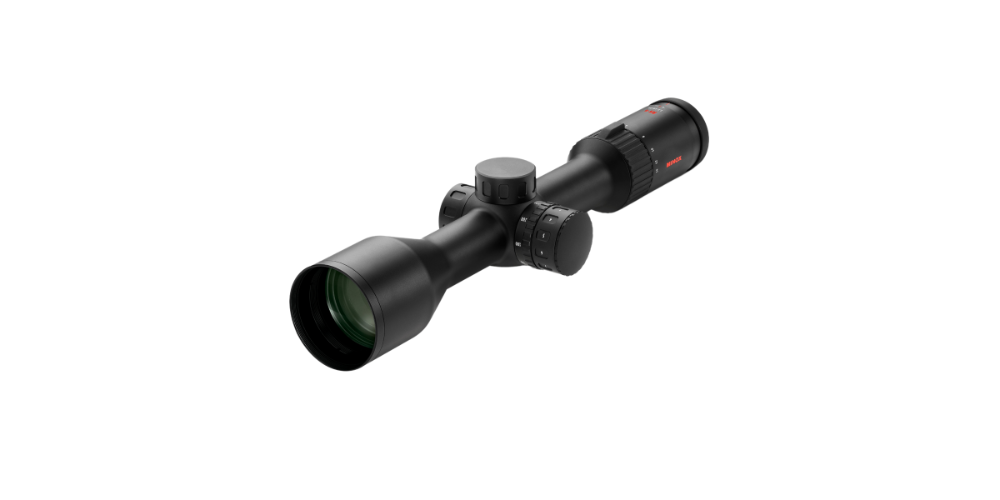
Especially at high magnifications, which are often used in long-range shooting, precise diopter adjustment is essential to clearly recognize the reticle and maximize aiming accuracy. Ideally, one should look into the sky with the optic and then sharpen the reticle using the diopter adjustment. The ZP5 from MINOX has the special feature that the diopter adjustment is lockable. This ensures that the diopter setting does not change unintentionally.
Precision at long distances
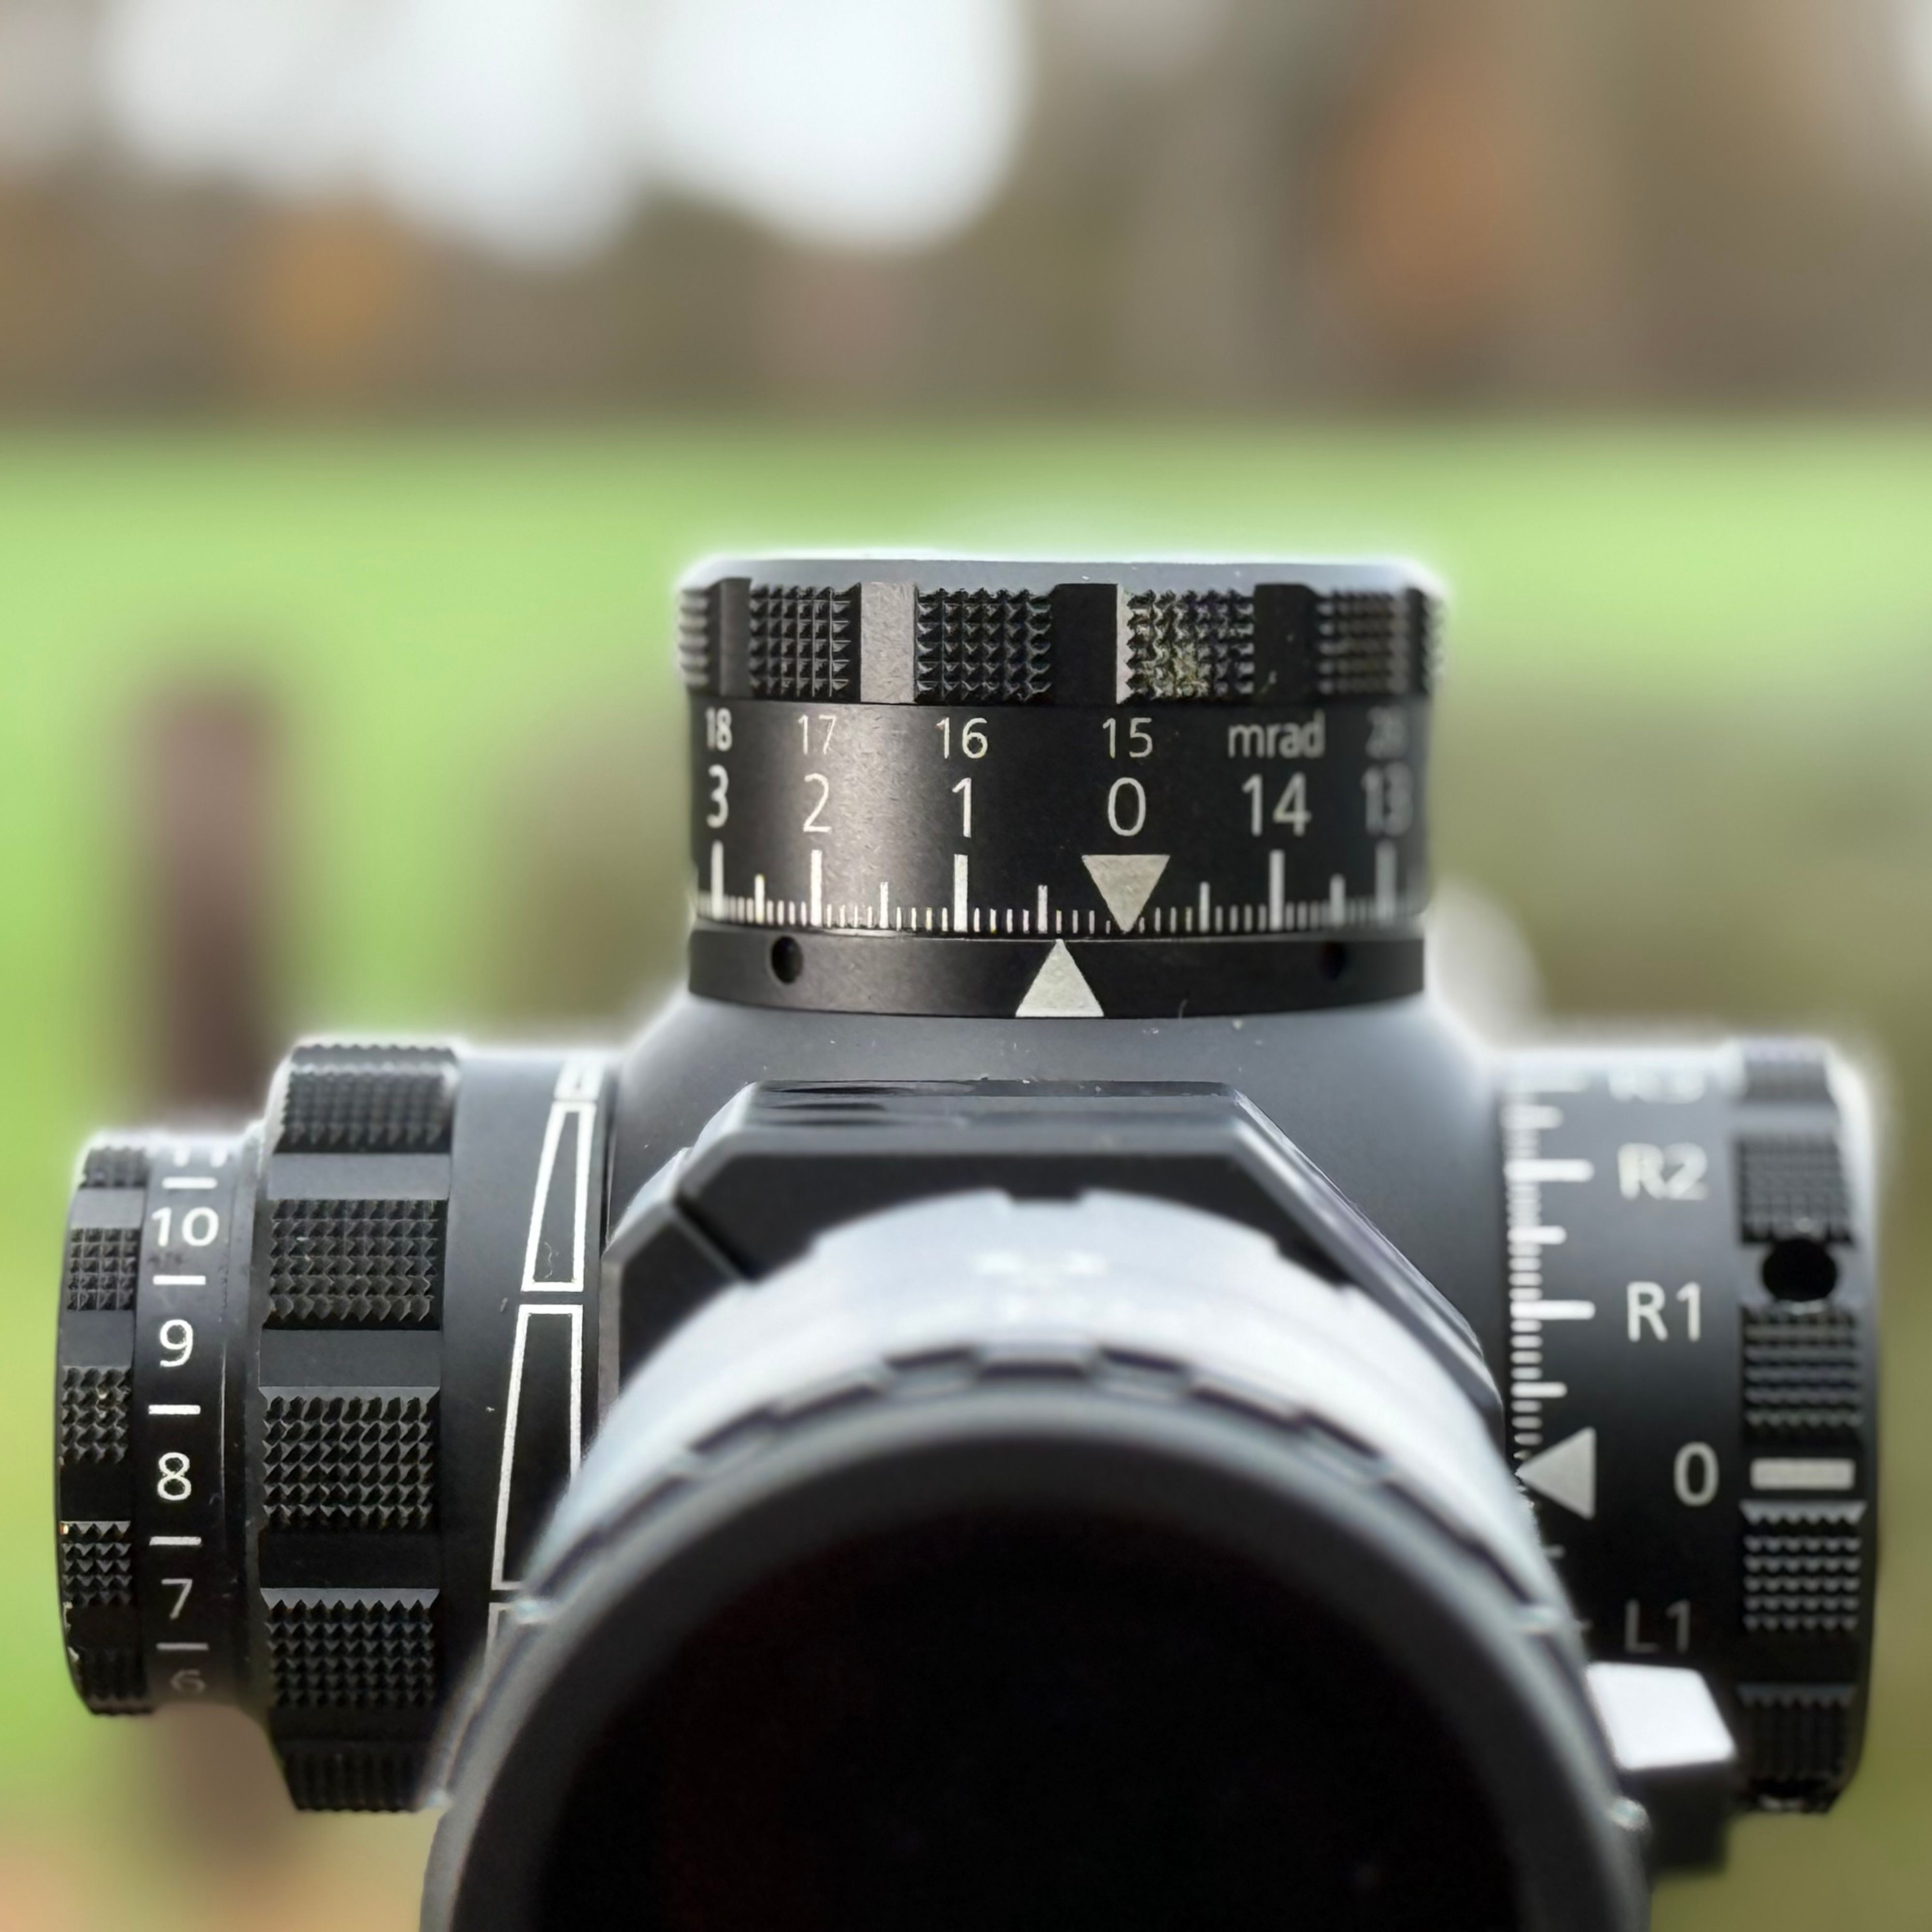
Parallax adjustment is another important factor when adjusting the riflescope, especially for long-range shots. The term parallax describes the apparent shift of the reticle relative to the target when the shooter is not looking through the riflescope centrally. This can lead to significant aiming errors, especially at long distances.
A simple example of parallax is the so-called thumb jump phenomenon: If you hold your thumb about 10 cm in front of your face and alternately look at it with one eye only, the thumb seems to move, although it is actually still. A similar effect occurs when the shooter looks through the riflescope but is not aligned with the optical axis of the glass. The position of the reticle appears to change relative to the target.
Riflescopes are usually parallax-free at a certain distance, meaning that at this distance there is no deviation of the reticle, regardless of how the shooter looks through the optic. For most hunting and sporting optics, this parallax-free distance is 100 meters. However, if the target is farther away, parallax can become a problem, especially at distances over 200 meters. In such cases, parallax adjustment becomes necessary.
Modern riflescopes, especially those used for long-range shooting, have a parallax adjustment that allows the shooter to set the optic to the respective shooting distance. This adjustment is made via an adjustment unit, usually mounted on the side of the riflescope. With the help of the parallax adjustment, image sharpness at long distances can be precisely set, minimizing aiming errors.
Fine-tuning the parallax adjustment
To correctly adjust the parallax, the shooter should focus the riflescope on the desired distance.
- The shooter has already correctly set the diopter, as described above.
- Then the shooter aims at the target and turns the parallax adjustment until the reticle and the target are both sharply visible.
- A simple test to ensure that parallax is correctly adjusted is to move the head slightly (consciously shifting the shooter’s line of sight relative to the sight line of the riflescope). If the reticle remains stationary relative to the target, the parallax is correctly set. However, if the reticle appears to move over the target, the parallax adjustment must be readjusted.
Optimal precision for success and safety
The correct setting of the optic is crucial for success in long-range shooting and hunting at far distances. Eye relief, head position, diopter adjustment, and parallax adjustment are the central elements that significantly influence the precision and safety of the shot. By carefully adjusting and regularly checking these factors, one can ensure that the optic is optimally adapted to the shooter and enables precise shots. A well-adjusted optic means not only more success but also more safety, both at the shooting range and in the wild.
More on Firearms Instructor Training
For those who want to dive deeper into professional and didactic training in shooting sports, Michael Gast offers further insights on his website. One highlight is “The Path to Becoming a Certified IHK Firearms Instructor” – a practical guide for anyone looking to take their skills to the next level.
From adjustment to application – Training with the MINOX Target
The correct setting of eye relief, diopter adjustment, and parallax adjustment forms the basis for precise long-range shooting. But it is only in practical use that it becomes clear whether the optic is truly optimally adjusted to the shooter. This is exactly where the MINOX Long- Range Target comes into play: It was developed for the 100-meter distance and makes it possible to check and specifically train the adjustments made under real conditions – for example, by checking the point of impact or practicing repeatability.

Michael Gast
Michael ‘Gasti’ Gast is a former paratrooper officer and platoon leader of the specialised forces HEER EGB. As part of his training as a paratrooper officer, he studied business administration at the Bundeswehr University in Hamburg and trained as a shooting instructor and shooting instructor for specialised forces. After leaving the service, Michael set up his own business and runs the IHK shooting instructor course, trains state forestry companies in shooting and runs the 1MOA GmbH hunting weapons trade.
Equipment:
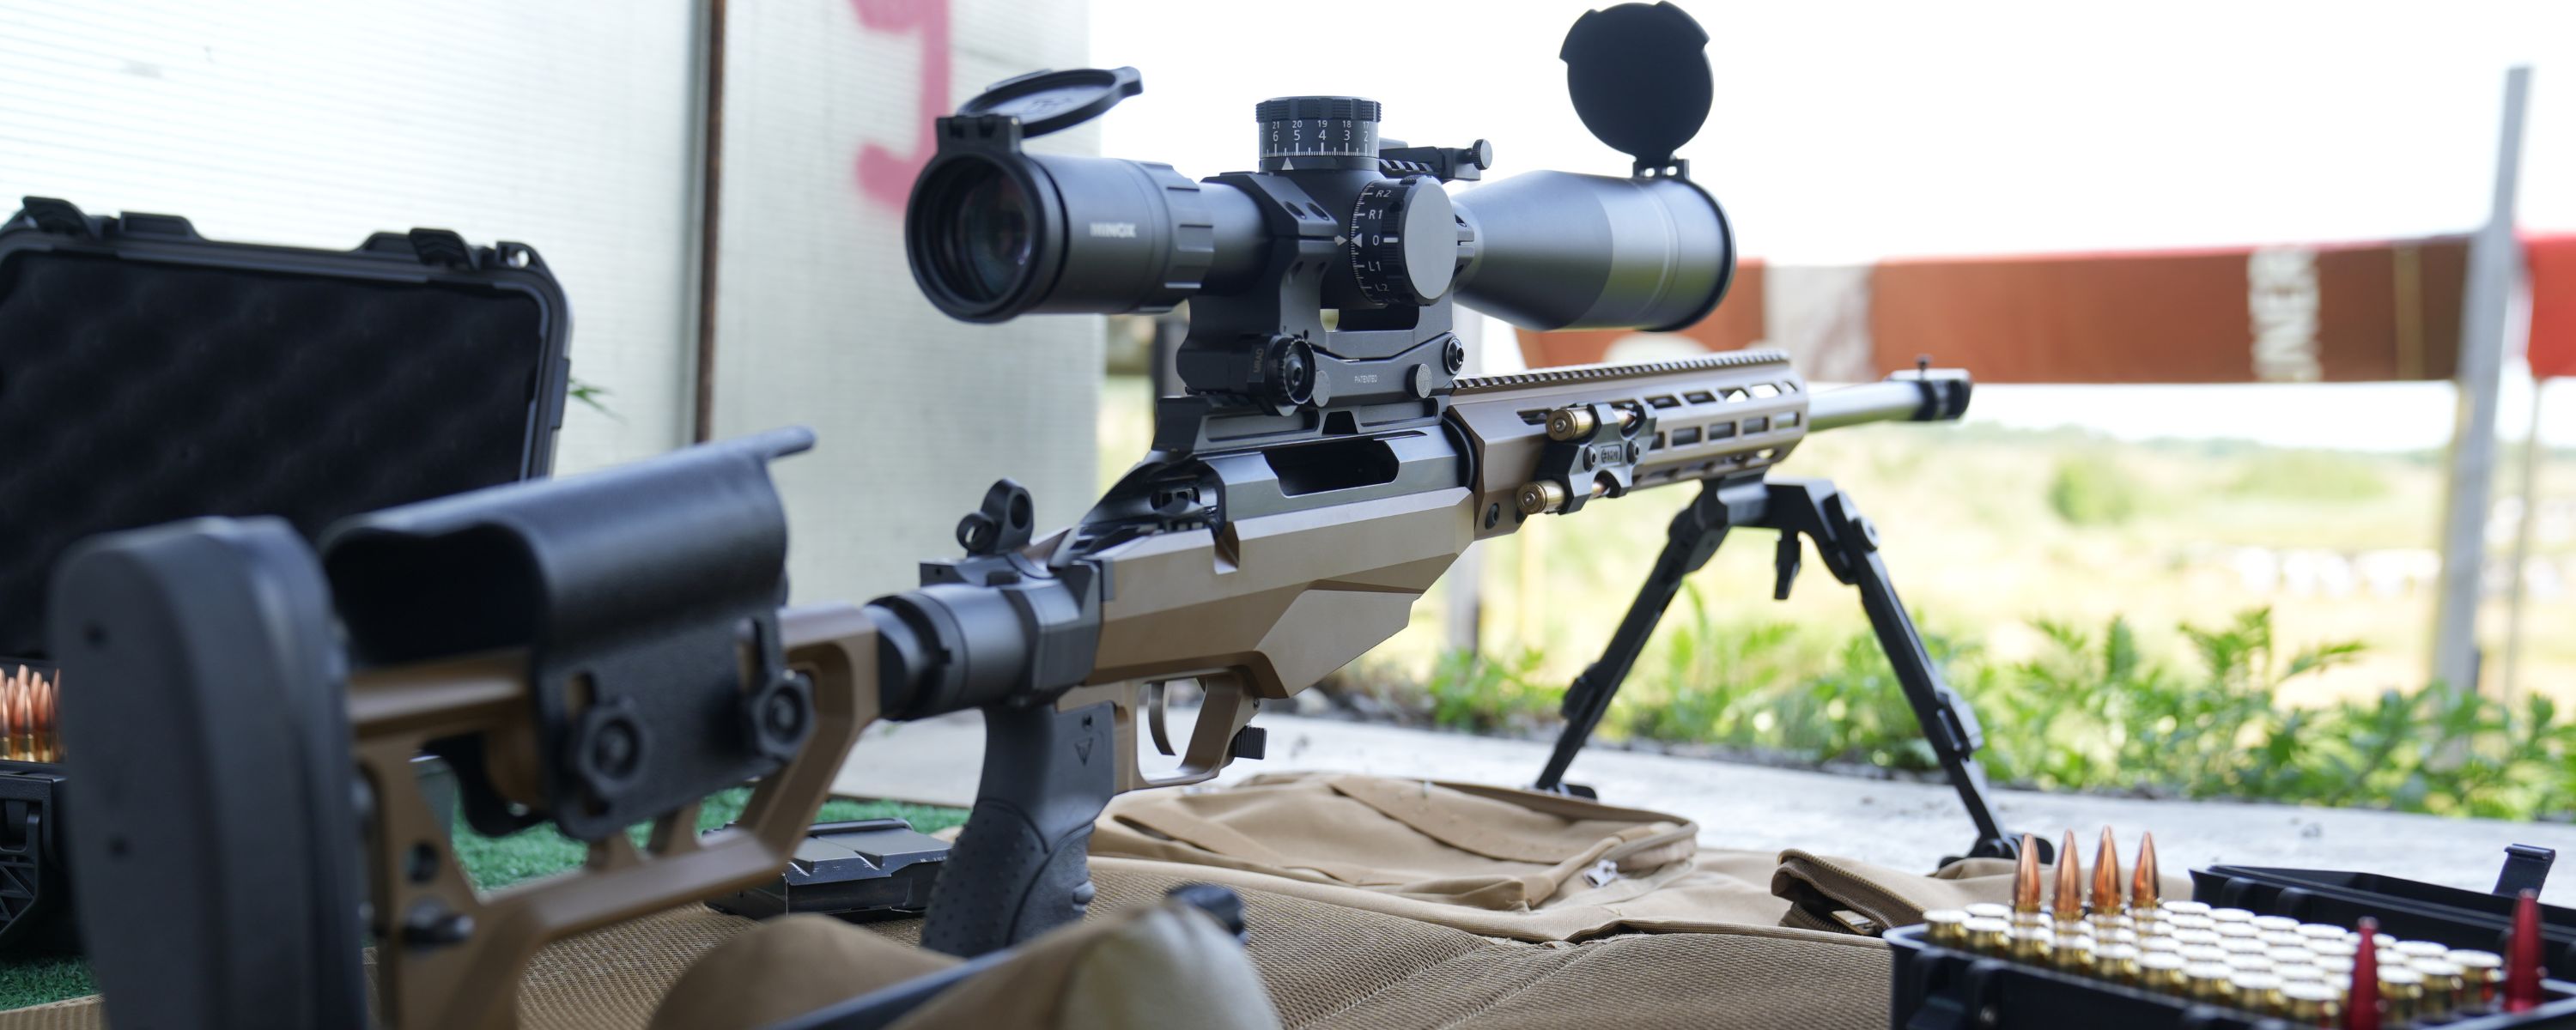
HMS Strasser RS700 in 6,5 PRC
MINOX MD80ZR
MINOX Riflescope PRO ZP5 5-25x56
MINOX Riflescope LONG-RANGE